Do not copy this tutorial and post through any kind of group or claim it as your own. Resemblance to any other tutorial is strictly coincidental.
This tutorial uses no filters
This tutorial uses no filters
You will need a tube of your choice.
I am using the art by Joe Cano you can purchase his tubes HERE
Font of your choice
Scrapkit I used is Dot.Com by Vassia's Designs and can be purchased HERE
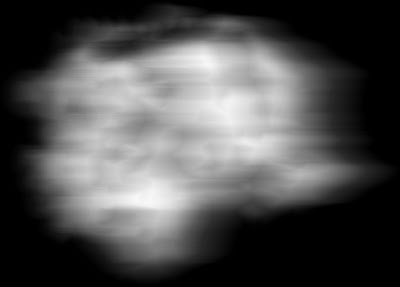
I used this Mask(Just right click and save in your mask folder)
1.Open a new image 500x500 white
2.Open one of the papers in the kit and resize by 80%
3.Paste as a new layer on your white
4.Load mask (I have fit to canvas checked) in supplies or one of your choice and merge group
5.Open one of the frames and resize 85%
6.Paste as new layer
7.Click on your magic wand and click inside the frame
8.Selections/expand by 3
9.Open one of the papers and paste as new layer
10.Invert/delete
11.Move paper layer below frame layer
12.Highlight frame layer and merge down
13.Add drop shadow
14.Open one of the doodles
15.Paste as new layer and free rotate 15 left
16.Add drop shadow, move to the bottom of the tag
17.OPen one of the raindrops and resize 60%
18.Paste as new layer and add drop shadow
19.Move to the top of the frame
20.Open one of the bow flowers and resize 70%
21.Paste as new layer and add drop shadow
22.Move to the bottom right
23.Open one of the brackets and resize 80%
24.Paste as new layer and add drop shadow
25.Move to the left
26.Open one of the gem stars and resize 40%
27.Paste as new layer and add drop shadow
28.Duplicate a few times and place randomly around the tag
29.Open one of the word art
30.Paste as new layer and add drop shadow
31.Move up slightly
32.Merge visible
33.Add copyright and watermark
34.Add your name
Hope you enjoyed my tutorial





























No comments:
Post a Comment